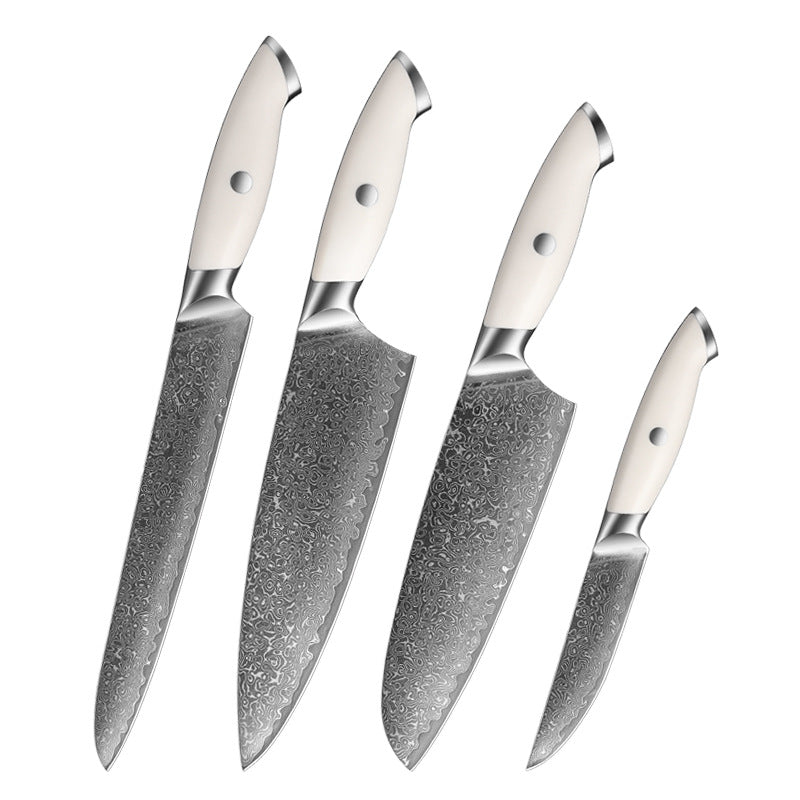
A sharp knife not only makes your cutting tasks easier and more precise but also reduces the risk of accidents in the kitchen. In this blog post, we will explore the step-by-step process of how to sharpen a chef knife like a pro.
What is a Dull Knife?
You can observe the blade: hold the edge toward your eyes, with the edge at an angle of about 30 degrees to your line of sight, and you will see a white edge line on the blade.

The reason for this dull line is nothing more than three reasons:

1. The edge has become flat.
2. The edge has roll or bend.
3. There is a nick on the edge.
Your knife can be sharpened by solving these three problems.
Tools you will need
Primary sharpening options include whetstones, honing rod, sharpeners, and leather suede. Using a multi-grit whetstone in conjunction with a sharpening rod or a piece of good leather to help remove burrs and polish the edge is one of the best ways to sharpen your knives. The whetstone approach allows you to sharpen at a variety of angles and on most types of steel.

There are three common ways to sharpen kitchen knives with a whetstone: horizontal grinding, oblique grinding, and vertical grinding. These three sharpening methods will produce four types of knife patterns: vertical texture, oblique texture, x texture, and horizontal texture. Vertical texture refers to the texture of the edge and the blade is perpendicular. Its sharpness, strength, and durability are ranked first. Horizontal grinding can produce vertical textures. The following will first introduce the horizontal grinding method.


Step 1: Soak the whetstone in water for about ten minutes. Here is a chart about whetstones. For home use, it is generally enough to choose a whetstone with a grit of 400 and 1000. The higher the mesh number, the finer the grain of the whetstone.

Step 2: Place the whetstone on a damp cloth - the damp cloth will prevent it from slipping. Pour light salt water on the whetstone to prevent high temperatures from being generated during the friction process. High temperatures will anneal the steel and soften it, making the blade more likely to bend when used.
Step 3: Place the top of the sharp edge of the blade on the surface of the whetstone, near the left end of the whetstone. Tilt the blade 15-20 degrees so that the sharp edge contacts the whetstone. Slide the sharp edge to the right across the whetstone, applying pressure with your free hand. At the same time, move the knife toward the upper edge of the whetstone so that when you reach the right end of the whetstone, the lower edge of the blade contacts the whetstone. The method used is push and pull, which means gently pushing up and then pulling back with a little force. To sharpen the other side of the blade, start at the right end of the whetstone and tilt the blade in the opposite direction. Repeat 10 times on each side.
If the edge of your knife is curled, you can use the second sharpening method, oblique grinding, which can solve the curling. The way of holding the knife for oblique grinding is the same as that for horizontal grinding, but the difference is the angle, the blade is at a 45-degree angle to the whetstone. The strength, sharpness and durability of the knife sharpened by oblique grinding are second only to those of horizontal grinding.

In addition to push and pull, the force of the entire sharpening process is a curve. Specifically, the force changes from small to large, and then from large to small.
When sharpening a knife, you need to use less force at the beginning because the contact area between the whetstone and the edge is very small, and neither is smooth. It takes a small force to effectively protect the edge and the whetstone. As you continue to sharpen the knife, the whetstone and the edge will fit better and better, and you can gradually increase the force. At the end of the sharpening, the edge will become sharper and sharper, and you need to reduce the force to protect the edge.
Note: The higher the grit size, the smaller the force and the slower the movement. Avoid using too much force to prevent the edges from curling.
